020 3859 5580
 020 3859 5580


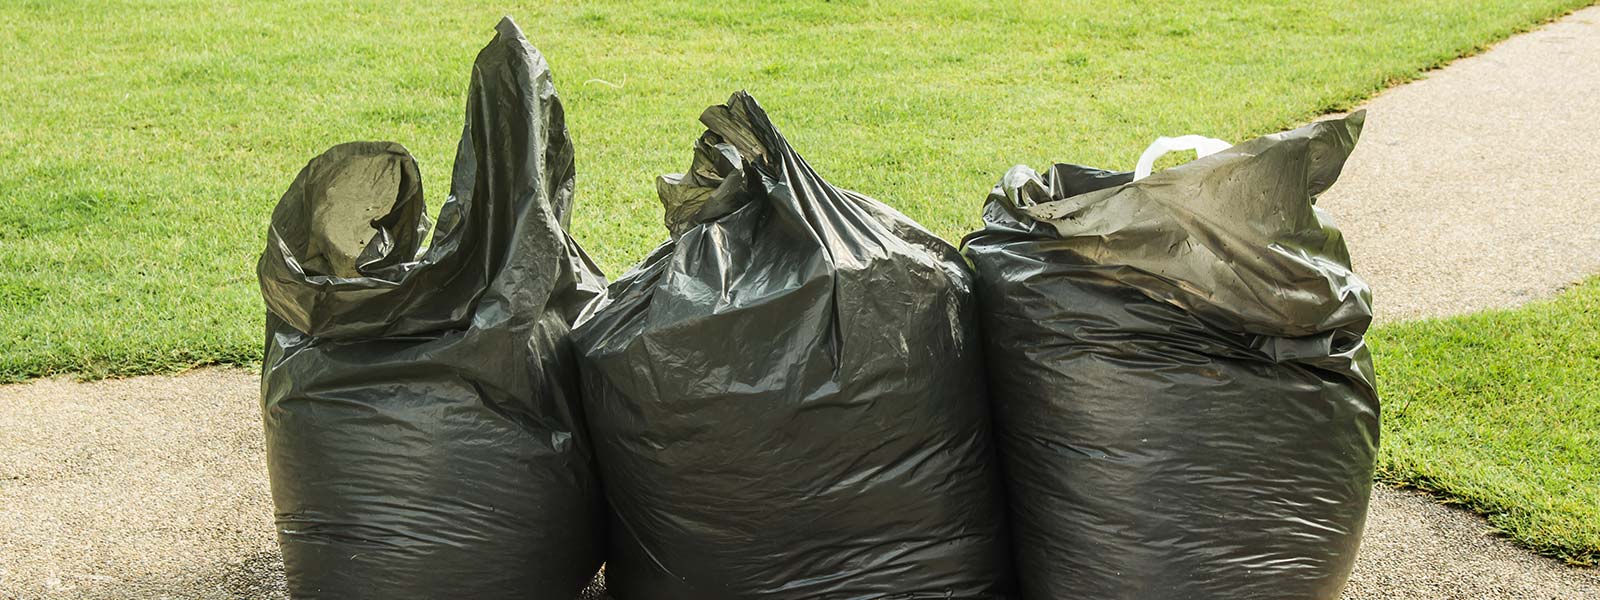


Garden rubbish clearance checklist for homeowners
Posted on 13/08/2026
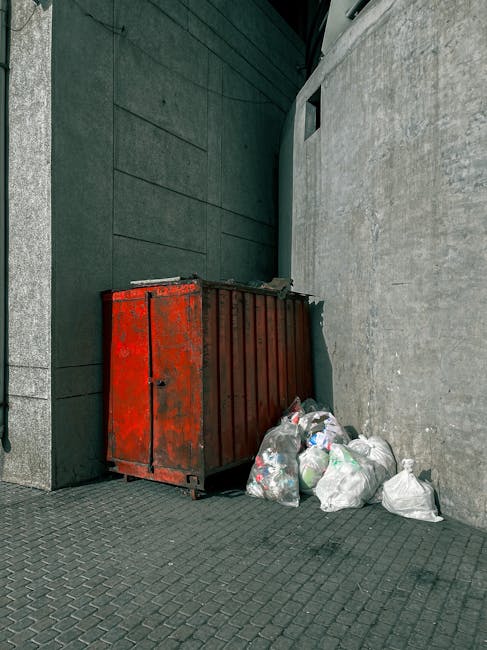
If your garden has reached that awkward stage where pruning offcuts, broken pots, old fence panels, and a few mystery piles of green waste are quietly taking over, you are not alone. A proper Garden rubbish clearance checklist for homeowners makes the job far less stressful, safer to tackle, and much easier to finish in one go. The trick is not just lifting things out of the way. It is knowing what to sort, what can be reused, what needs careful disposal, and when the pile has outgrown a normal weekend tidy-up.
In this guide, you will get a clear, homeowner-friendly checklist with practical steps, common mistakes to avoid, and a sensible way to decide whether to clear it yourself, use a skip, or book a collection. Let's face it: gardens can hide an impressive amount of clutter. One minute it is "just a few bits", and the next you are standing beside a heap of soil bags wondering how it all multiplied overnight.
Why Garden rubbish clearance checklist for homeowners Matters
Garden waste is not just "mess". It can quickly become a planning problem, a safety issue, and a storage headache all at once. A wet patch of lawn covered in broken cuttings is inconvenient; a stack of rotting bags, sharp offcuts, and old broken planters is something else entirely. A checklist gives structure to the clear-out, which means less second-guessing and fewer half-finished piles left by the shed for another month.
It also helps you separate ordinary green waste from mixed rubbish. That matters because gardens often contain a bit of everything: branches, leaves, soil, timber, metal fixings, plastic containers, plant pots, and sometimes items that should be treated with extra care. A structured approach means you can reduce contamination, recycle more, and avoid those "I'll deal with it later" moments that turn into a mini-landfill in the corner.
There is another benefit too. A tidy garden feels different. You hear the birds more. You see the paths again. You can actually use the space. Homeowners often start this job because they want it to look better, but the real value is how it changes the way the garden functions day to day.
How Garden rubbish clearance checklist for homeowners Works
At its core, garden rubbish clearance is a sorting-and-removal process. You inspect the space, separate materials, decide what stays, and then move the waste out in the most efficient way for the amount and type of material you have. That may mean bagging green waste for collection, loading bulky items for a separate pickup, or hiring help for a larger clear-out.
A good checklist usually follows this rhythm:
- Survey the garden and identify every type of waste.
- Split the waste into categories such as green waste, wood, plastics, metals, soil, rubble, and general rubbish.
- Set aside reusable items like decent pots, usable compost bins, or furniture that could be repaired.
- Check for anything hazardous or awkward, such as old chemicals, treated timber, rusted metal, or broken glass.
- Choose a disposal route that suits the volume and mix of waste.
- Clear in stages, starting with loose material and ending with heavier or sharp items.
- Leave the area safe and clean so it is ready for replanting, repairs, or simple enjoyment.
If the pile includes bulky furniture, broken sheds, or bigger mixed loads, it can help to read up on budget-friendly approaches to bulky waste management. For larger property jobs, house clearance support can also be useful when garden clutter is part of a wider home clear-out. And if you are dealing with mixed domestic waste rather than just greenery, rubbish collection options may fit the job better than a self-haul.
Key Benefits and Practical Advantages
A homeowner-focused checklist saves time, but that is only the obvious win. The less obvious win is decision-making. When you know what to do with each material before you start dragging it across the patio, the whole job becomes calmer. Not glamorous, admittedly. But calmer.
- Less wasted effort - you avoid moving the same pile twice.
- Better sorting - which means more recycling and less contamination.
- Safer handling - especially for sharp, heavy, damp, or mouldy waste.
- Cleaner pathways and borders - useful if children, pets, or visitors use the garden.
- More realistic planning - you can see if the job is a simple tidy or a full clearance.
- Improved kerb appeal - the garden looks cared for, even before replanting begins.
There is a practical side that often gets missed: a tidy garden is easier to maintain. Once the old clutter is gone, mowing, edging, watering, and planting become much easier. That small change matters more than people expect. A cluttered outdoor space tends to stay cluttered. A clear one stays under control.
For homeowners who are trying to live a bit more efficiently and waste less generally, articles such as practical tips for a waste-free household and household waste reduction steps can help the habit stick beyond the garden.
Who This Is For and When It Makes Sense
This checklist is for any homeowner who wants a more organised way to deal with garden clutter. That could mean a one-off spring clear-out, a post-storm tidy-up, or a bigger garden refresh before selling, renting, or hosting family over the weekend. Some people are clearing after landscaping work; others are simply tired of looking at broken tubs and forgotten plant supports every time they open the back door.
It makes sense especially when:
- the garden has accumulated mixed waste over several seasons
- you are replacing furniture, pots, or fencing
- you have prunings, soil, rubble, and general rubbish all together
- you are trying to recycle as much as possible
- you want to avoid overfilling your household bins
- you need a plan that reduces lifting, trips, and repeat sorting
If the situation has drifted from "messy garden" into "this is becoming too much to manage alone", that is also a sign to pause and think about support. For more severe clutter situations, the principles in hoarder clean-up guidance can be surprisingly relevant, even outdoors, because the real issue is often overwhelm, not just volume.
And yes, even a small patio can become a pain if there are broken items, tangled garden waste, and half-disassembled furniture. Tiny spaces can be surprisingly stubborn. Annoyingly so.
Step-by-Step Guidance
Here is the practical version. Not theory, not vague advice - the actual sequence that makes the job easier.
1. Start with a full visual sweep
Walk around the garden slowly and note everything that needs attention. Look behind sheds, along fences, under benches, and at the ends of borders where odds and ends tend to collect. In the morning, when the light is better, you will spot more than you do at dusk. It sounds obvious, but this is often where people miss a second pile of old pots or a hidden bag of leaves that has turned to sludge.
2. Sort waste into clear categories
Keep it simple. Most garden rubbish falls into a few common groups:
- Green waste: grass cuttings, leaves, hedge trimmings, small branches, weeds
- Hard garden waste: broken pots, trays, plant labels, compost bags, plastic edging
- Bulky items: furniture, old planters, fencing, trellis, sheds, parasols
- Soil and rubble: turf, stones, bricks, broken paving, leftover aggregate
- General rubbish: packaging, damaged household items, mixed debris
This is also the moment to pull out anything that belongs elsewhere. A charger, old extension lead, or electrical garden accessory should not be treated like normal waste. If you are unsure about items with a plug, a battery, or a circuit board, finding the nearest e-waste facility for charger recycling is a useful reminder of the broader principle: keep electrical items separate.
3. Decide what can be reused or repaired
Before you throw anything away, ask one simple question: could this still be useful? Plant pots often can. Wooden planters sometimes can. Even some garden furniture is salvageable with a clean, a sand, or a replacement bolt. A broken item is not always waste; sometimes it is just a future project with a bad reputation.
That said, if the item is rotten, unsafe, or permanently stained, do not keep it "just in case". That is how sheds fill up.
4. Deal with the messy stuff first
Loose leaves, cuttings, and light debris are best tackled early. They are the easiest to gather and they instantly make the space look more manageable. Use sturdy bags, a rake, and a tarp if you are shifting a lot at once. If there are very muddy or compacted piles, break them apart with a fork rather than trying to lift them in one heavy clump.
5. Lift bulky waste safely
Old furniture, damaged fencing, and heavy planters need a more careful approach. Split larger items where possible. Remove loose parts. Use gloves with a good grip. If the waste is too awkward, stop pretending it is a "quick lift". It probably is not. This is where many homeowners decide that a collection service or skip becomes the sensible option.
For awkward large items, it can help to compare your options with garden furniture removal made easy and skip hire management tips if you are deciding between different removal methods.
6. Separate anything hazardous or uncertain
Old garden chemicals, pesticide containers, paint tins, fuel, asbestos-containing materials, and unknown substances need extra caution. Do not mix them with ordinary green waste. If you are unsure what counts as hazardous, read the label carefully, keep it sealed, and treat it separately until you know the correct route. This is one of those areas where guessing is a bad idea.
For a clearer overview, what qualifies as dangerous waste is a helpful starting point.
7. Choose the right disposal route
Small loads of leaves and cuttings may be manageable through normal collection arrangements, while larger mixed piles can need a dedicated service or skip. The best choice depends on access, volume, weight, and whether your waste is mostly organic or mixed. If the load is bulky but not very heavy, one route makes sense; if it is soil-heavy, another may be better.
That is why it helps to think in terms of practicality, not just price. Cheap can become annoying very quickly if you have to move everything twice.
8. Clear and tidy the area properly
Once the waste is gone, do a final sweep. Check corners, borders, and under fixed items. Remove small shards, stray nails, and little bits of wire. This final pass matters more than people think. It is what makes the garden feel done, not just partially emptied.
Expert Tips for Better Results
A few small choices can make a surprisingly big difference.
- Work from dry to wet: dry leaves and light waste are much easier before rain turns everything into a slippery mess.
- Use separate containers: one for green waste, one for mixed rubbish, one for reusable items. Simple, but effective.
- Keep a sharp-items box: broken glass, nails, screws, and wire should be contained early.
- Cut down long branches before moving them: they take less space and are safer to carry.
- Don't overfill bags: a half-full heavy bag is far easier than a full one that tears halfway to the gate.
- Have a "maybe" pile: things you are unsure about can be checked later rather than clogging the main flow.
One of the most useful habits is to set a stopping point. A lot of DIY clear-outs fail not because the work is too hard, but because people simply do too much in one stretch and get fed up. An hour and a half of focused work often beats a whole day of wandering around and losing momentum.
If you are trying to keep the garden clear after the big clean-up, these clutter-free habits after a clear-out are worth borrowing for the outdoors too.

Common Mistakes to Avoid
Most garden clearance problems are avoidable. Honestly, the mistakes are usually predictable.
- Mixing everything together and hoping it will sort itself out later.
- Underestimating soil and rubble, which are much heavier than they look.
- Ignoring hidden sharp items like broken edging, wire, or rusted fixings.
- Leaving wet green waste to sit, which creates smell and a heavy, unpleasant mess.
- Keeping broken items "for repairs" when they are really just clutter.
- Forgetting access - gates, side passages, and narrow paths can change the whole plan.
Another common one: assuming the council bin can handle everything. Sometimes it can handle part of it; sometimes it cannot. If you have overflowing bins or the clear-out creates more waste than expected, practical advice for unemptied bins is worth a look because overflow and collection issues are often part of the same mess.
And a small but real one: people forget gloves. Then they remember. Usually after picking up something damp and thorny. Not ideal.
Tools, Resources and Recommendations
You do not need a van-load of fancy gear, but a few basics will make the work cleaner and safer.
| Item | Why it helps | Best for |
|---|---|---|
| Heavy-duty gloves | Protects hands from thorns, rust, and sharp edges | General clearance, broken items, mixed waste |
| Rake and garden fork | Makes it easier to gather loose waste and lift compacted debris | Leaves, cuttings, soil, turf |
| Sturdy bags or tubs | Helps separate waste properly and avoids tears | Green waste, small mixed items |
| Tarp or sheet | Useful for dragging waste to a collection point | Branches, leaf piles, lighter clutter |
| Wheelbarrow | Reduces trips and makes heavier loads easier to move | Soil, rubble, bulky garden waste |
| Labelled boxes | Keeps reusable or uncertain items separate | Sorting and decision-making |
For homeowners who want to understand how wider waste services work, why waste clearance services matter gives useful context. If you are weighing up a more structured solution, budget-friendly bulky waste approaches can help you compare practical methods without rushing into the first option.
For certain jobs, skipping the DIY route is simply the sensible call. That is not failure. It is planning.
Law, Compliance, Standards, or Best Practice
Garden rubbish clearance in the UK is usually straightforward, but there are still sensible rules to follow. Waste should be handled responsibly, kept separate where needed, and passed to an appropriate disposal route. If you use a third party, choose a provider that handles waste properly and avoids fly-tipping risks. That is not just good practice; it protects you from a problem you did not ask for.
Some materials deserve extra caution. Soil, rubble, treated wood, chemicals, electrical items, and anything potentially hazardous should not be treated like ordinary green waste. Local council rules can differ on what they accept, how it must be presented, and whether certain materials need separate handling. In practice, the safest approach is to check your local arrangements before loading everything into one pile and hoping for the best.
Best practice is simple enough:
- keep recyclable waste separate where possible
- avoid mixing hazardous and non-hazardous materials
- do not overfill bins or bags if it creates a manual handling risk
- use reputable waste carriers for larger mixed loads
- retain any paperwork or confirmation for collections where appropriate
If you are also looking at a wider home clear-out, the same careful approach applies in rooms and lofts too. There is a reason clear-out jobs feel easier when everything is sorted before it leaves the property. It is just cleaner thinking, really.
Options, Methods, or Comparison Table
There is no single "best" way to clear garden rubbish. The right method depends on volume, access, waste type, and how much lifting you want to do yourself.
| Method | Best for | Pros | Trade-offs |
|---|---|---|---|
| DIY bagging and council disposal | Small green-waste jobs | Low cost, flexible, simple for light material | Time-consuming, limited by bin capacity, not ideal for bulky items |
| Skip hire | Larger mixed clear-outs, soil, rubble, fencing | Good for volume, convenient if you can load gradually | Needs space, can be overkill for small jobs |
| Dedicated rubbish collection | One-off pickups and mixed household waste | Less lifting time, often quicker for busy homeowners | May be less suitable for very heavy or segregated loads |
| Full property clearance support | Large, cluttered, or combined indoor-outdoor jobs | Fast, organised, less stress for the homeowner | Usually more than you need for a simple tidy-up |
If your garden clearance includes a big furniture replacement, you may find removing garden furniture a better fit than treating it as general waste. And if the job has moved beyond the garden into the whole house, house clearance can be the more efficient route.

Case Study or Real-World Example
A typical example: a homeowner in a small terraced property has let the back garden drift after a rainy season. There are three bags of cuttings, an old plastic bench, cracked plant pots, some timber offcuts from a fence repair, and a patch of soil and broken bricks near the shed. Nothing dramatic. Just enough to nag at the back of the mind every time the kitchen door opens.
Rather than starting with the bench, the homeowner begins by sorting the green waste, which immediately creates space. The cracked pots are separated for recycling decisions, the timber is stacked on one side, and the rubble is kept apart because it is heavier than it first appeared. The bench turns out to be too awkward for a normal bin route, so it is booked with the rest of the bulky material. By the end of the afternoon, the path is visible again and the garden feels twice as large.
The important part is not that the job was huge. It is that the right order prevented waste from being shuffled around endlessly. That is usually what turns a stressful clear-out into a manageable one.
For homeowners trying to improve habits after the clear-out, the value of a simplified space is worth remembering. Once you see the difference, it is easier to keep the space that way.
Practical Checklist
Use this before, during, and after the clearance. A simple checklist saves a lot of backtracking.
- Walk the full garden and note every item to be removed
- Separate green waste from mixed rubbish
- Set aside reusable items, if any
- Identify sharp, heavy, damp, or mouldy waste
- Check for chemicals, electrical items, or anything hazardous
- Choose bags, tubs, a tarp, or a wheelbarrow
- Decide whether the waste fits normal collection limits
- Arrange a skip or collection if the load is bulky
- Clear loose material first, then bulky items, then debris
- Inspect paths, borders, and corners for leftover shards or fixings
- Keep reusable pots, tools, and furniture where possible
- Leave the garden dry, safe, and ready for the next job
Expert summary: The best garden clearance is not the fastest one. It is the one that separates waste properly, protects the person doing the lifting, and leaves the space easier to maintain next week, not just cleaner today.
Get a free quote today and see how much you can save.
Conclusion
A thoughtful garden rubbish clearance checklist for homeowners takes the guesswork out of a job that can otherwise feel messy and endless. By sorting waste properly, handling hazardous or bulky items with care, and choosing the right removal method for the load, you can turn a cluttered outdoor space into somewhere genuinely usable again.
Most importantly, you do not need to solve everything in one dramatic sweep. Small, steady progress works. A few sorted piles, the right tools, and a clear plan usually beat brute force. And once the garden is clear, it is much easier to keep that calm, open feeling going through the seasons.
There is something quietly satisfying about stepping outside and seeing space again. Fresh air, clear paths, no awkward piles by the fence. Simple, really. And a relief.
 House Clearance
 Rubbish Collection
 House clearance in London has never been easier, as Junk Removal Services can take care of your every need. From individual house junk...
 With Junk Removal Services you can be confident that you’ll receive the most professional and affordable rubbish collection service within the London...